Creating an Invoice
What this is for
You generate invoices after time records for the week have been approved. The app does the math for you — it reads the approved hours, applies each worker's rate, adds per diem where it's owed, and calculates overtime. You then pick which rows to turn into finished invoices.
You can do this one invoice at a time or many at once.
Steps
Open the invoice list
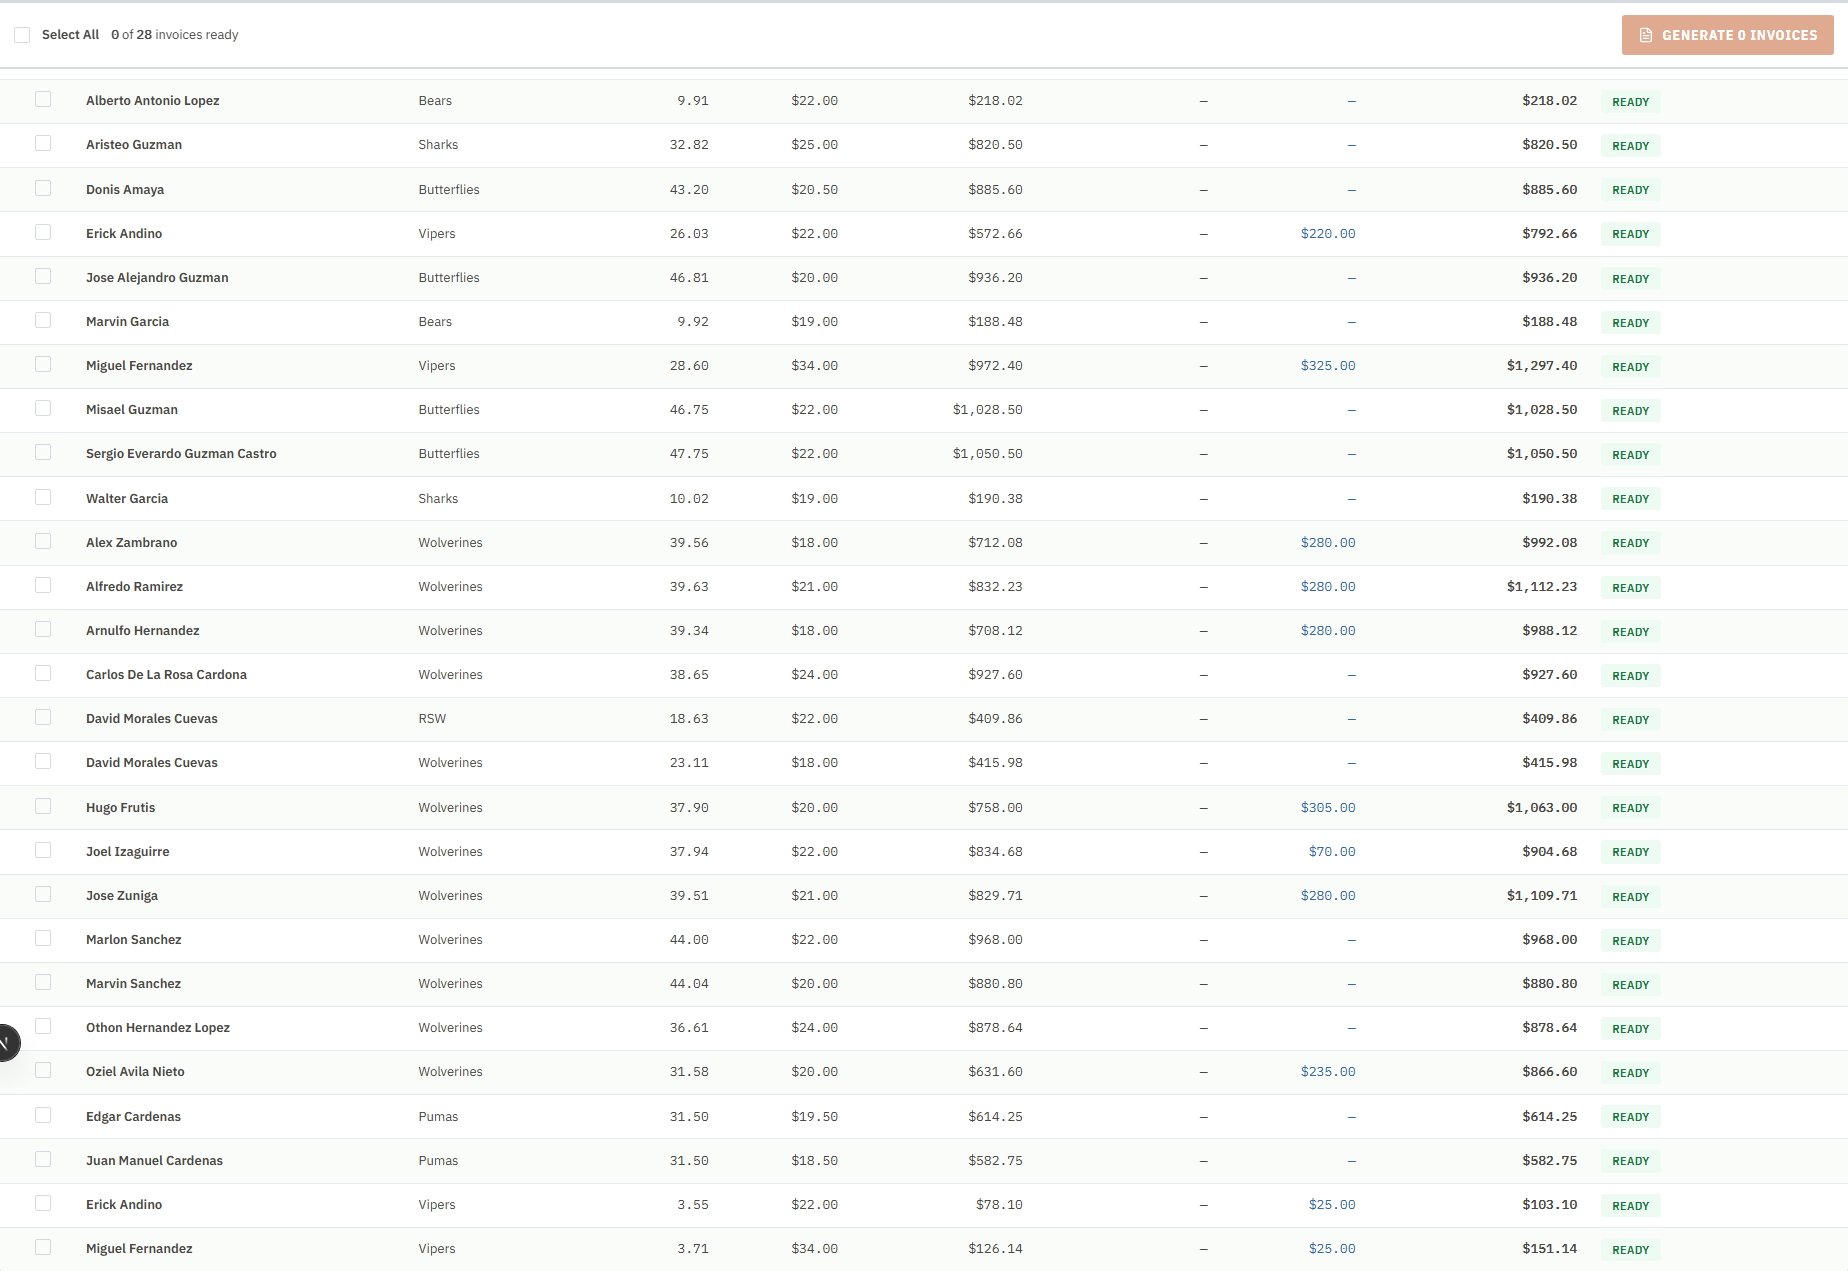
- Click the Invoices tab.
- The page lists one row per worker / company combination for the current week.
- Use the arrow buttons next to the date range to jump to a different week.
![]()
Pick the company (entity)
- Above the table you will see a row of tabs — one tab for each company (entity) with workers in this period.
- Click the tab for the company you are invoicing. The list filters to just that company.
- If you want to see everything, leave the first tab selected.
Pick the workers to include
You have two choices here.
Option A — Generate one invoice at a time
- Click a row to open the preview panel on the right.
- Review the line items, hours, rate, and total in the panel.
- Click Generate Invoice at the bottom of the panel.
- The status badge on the row flips to Generated. You can now click View Full to open the detail page.
Screenshot pending
Invoice preview panel showing line items for one worker.
This screenshot will be added in a future docs update once the underlying state is reproducible in dev.
Option B — Generate many invoices at once (batch)
- At the top of the table, check Select All to pick every Ready row. (Rows marked Needs Review are skipped automatically.)
- Or, tick the check box on each row you want.
- The orange bar at the top shows X of Y invoices ready.
- Click the big orange Generate X Invoices button.
- The system creates each invoice, one after another. When it finishes, every selected row's status flips to Generated.
Confirm and review
- After the invoices are generated, click any row to re-open its preview, or click View Full to go to the detail page.
- On the detail page, you can download the PDF, change the status, or send the invoice. See Invoice Detail & Line Items.

Common mistakes
- Generating for the wrong week. Always check the date range at the top first.
- Trying to generate a Needs Review row. These rows fail silently — the check box is disabled for them. Fix the missing setup before trying again.
- Running a big batch before time corrections have been approved. If a correction is still pending, the invoice won't include it. Wait until all corrections for the period have synced.
- Clicking Select All when you only meant to generate one company's invoices. Use the company tabs to filter first.
What to do if it goes wrong
- If the Generate button is greyed out, you haven't selected any Ready rows.
- If the list shows "no invoices," the selected period has no time records yet. Pick a different week or wait for the data to arrive.
- If a batch fails partway through, the rows that did generate will already show Generated. Re-select the remaining rows and run the batch again.
- If a generated invoice has the wrong total, open it, check the line items, and submit a time correction on the bad record (see Time Corrections). Then delete the invoice and regenerate it.