Confirming a PO
A PO appears in red in your queue. You read its ticket, decide whether to confirm it, and — if you can — confirm it in Purchase Ordering. That's the loop.
This is the single most-frequent PM action in JCI. Get the rhythm down and the queue stays clean.
The dashboard surfaces what's pending and lets you read the ticket. The actual confirmation happens in Purchase Ordering — the AppSheet app where POs are created and managed. Plan accordingly: keep both tools open if you're working through a queue.
The seven-step flow
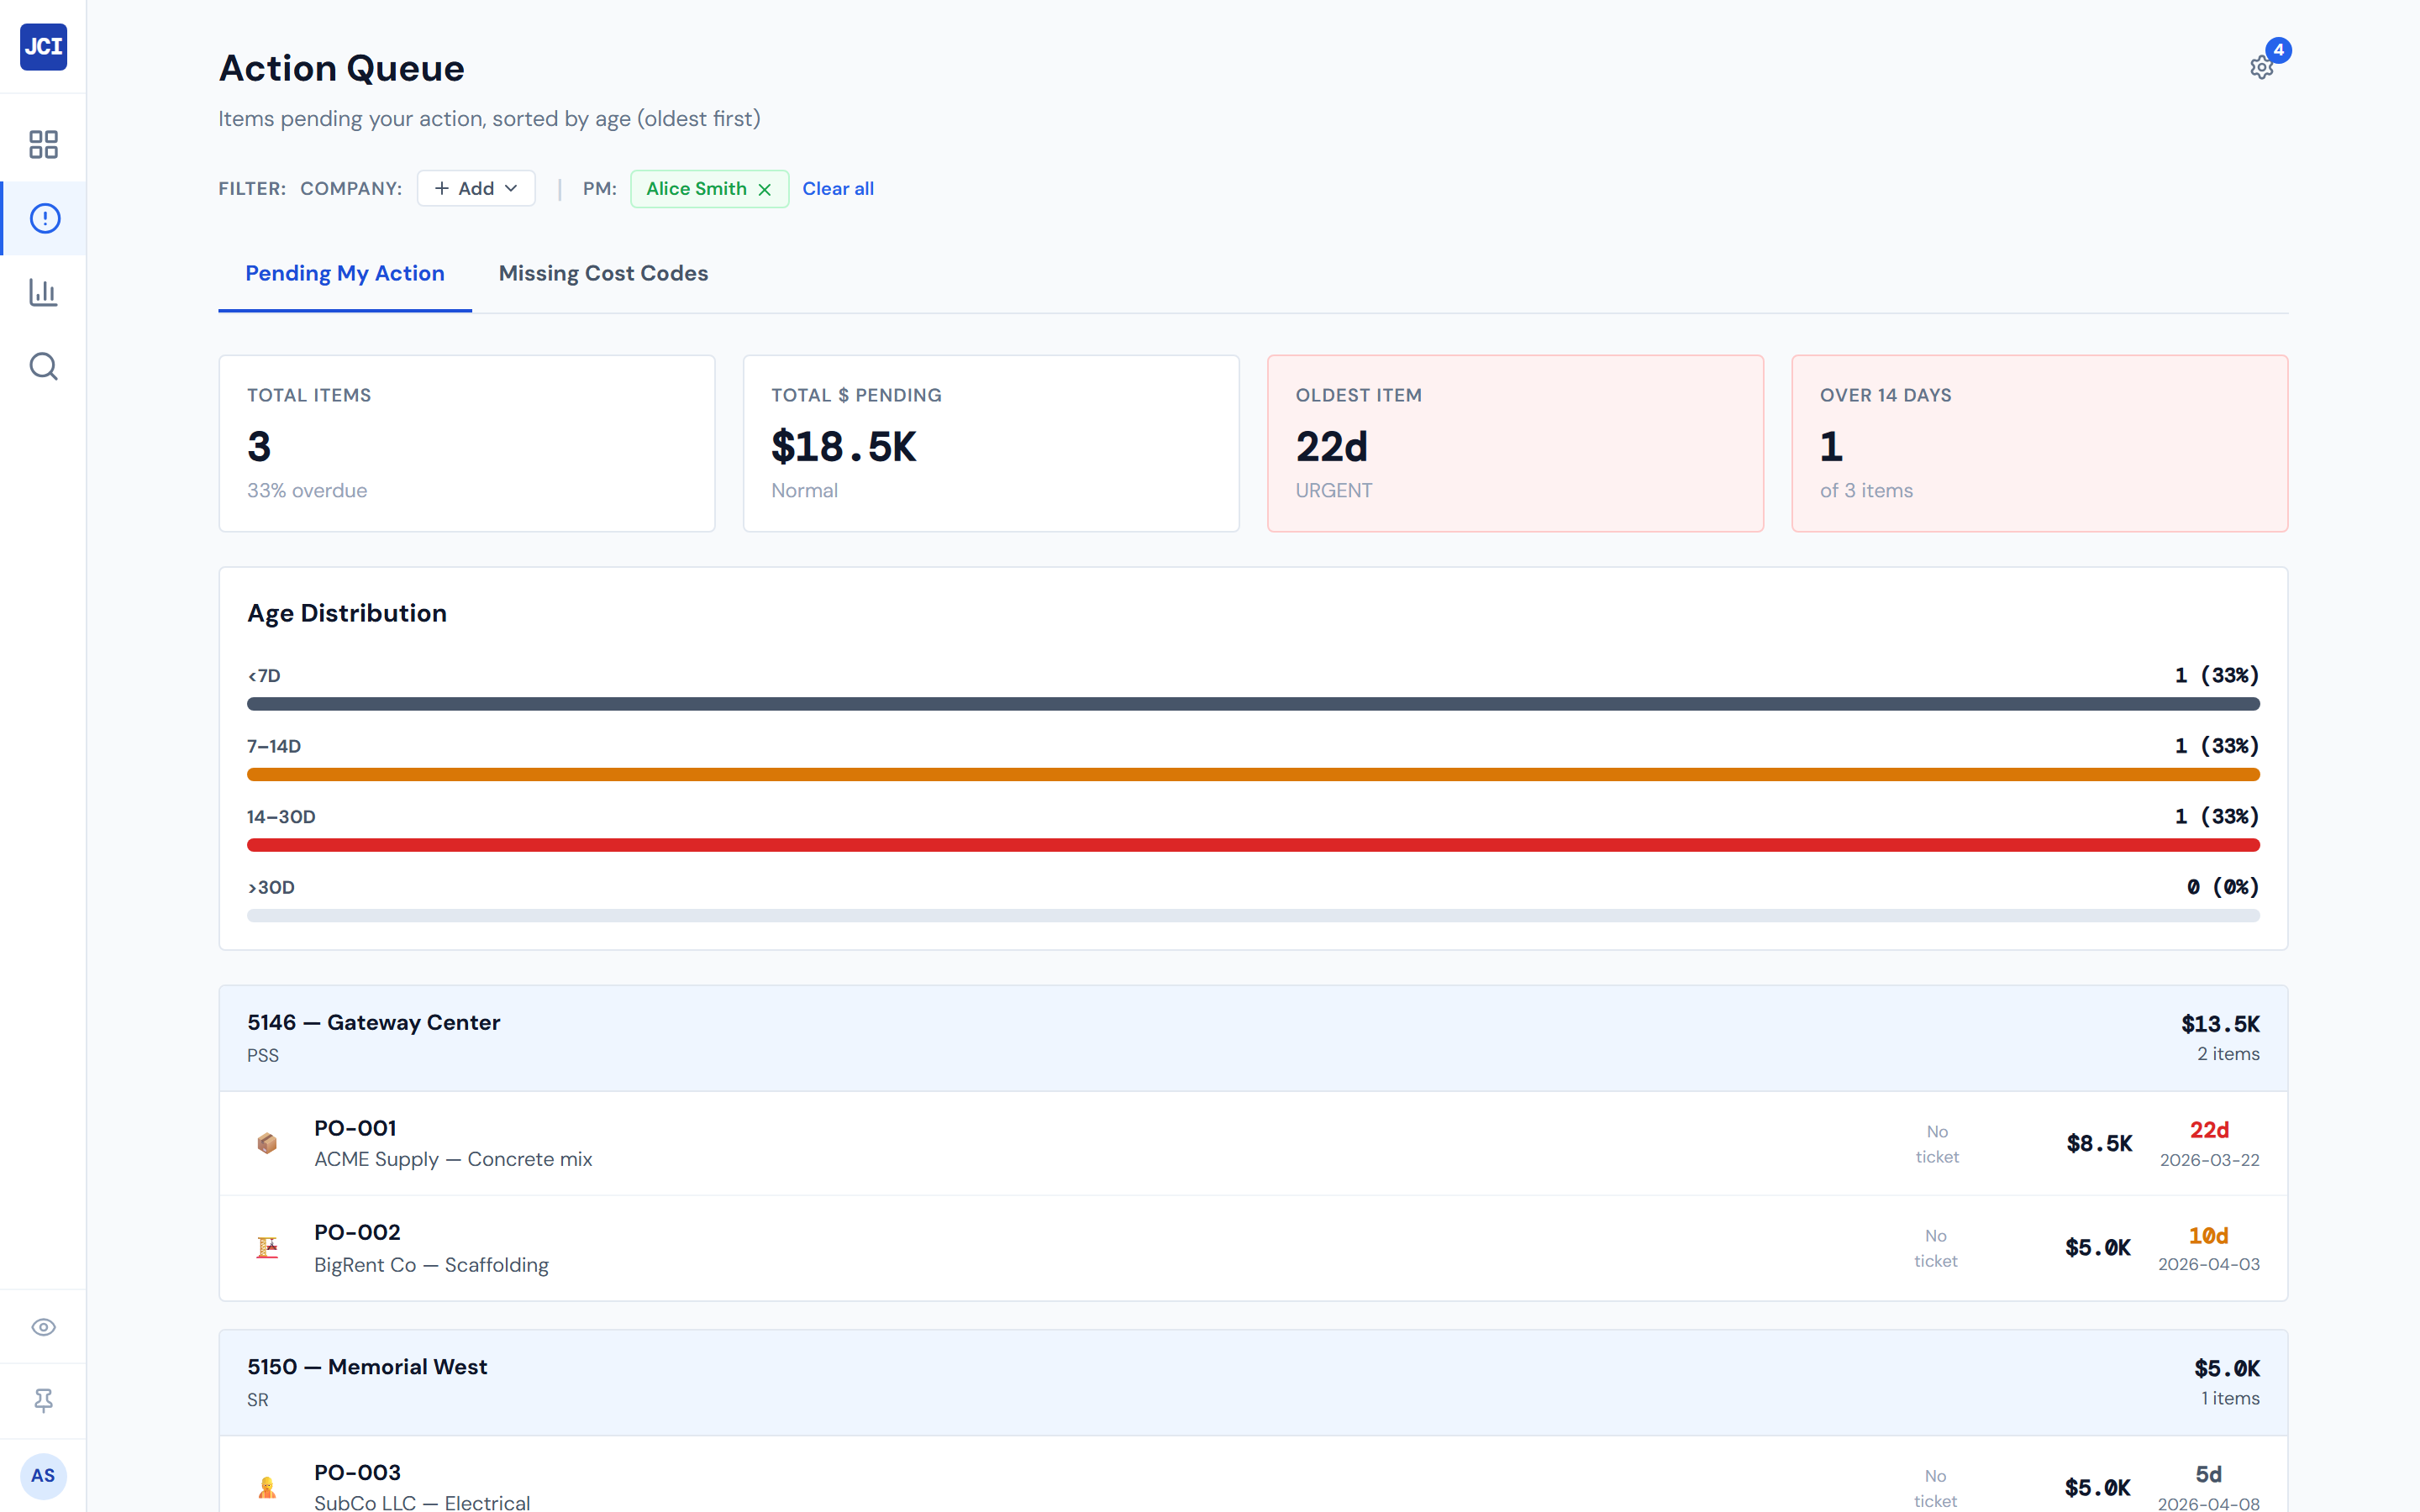
1. A red PO appears in your Action Queue
It got there because a ticket was uploaded against it (so it's no longer Missing Ticket gray) but you haven't reviewed it yet (so it's not yet PM Confirmed amber). The lifecycle reference is at PO Lifecycle Colors; the queue tab itself is at Pending My Action.
2. Glance at the age
Anything in red text on the row's age column has been sitting fourteen days or longer — those are the ones to clear first. The age cutoffs and the URGENT label are documented at Aging and Priority.
The Pending tab is sorted oldest-first by default. Working top-down clears the most-overdue items first. (The Missing Cost Codes tab sorts the opposite way, newest-first — see Fixing a Missing Cost Code for why.)
3. Click the ticket thumbnail
A full-size lightbox opens over the page. Read it. The receipt should tell you the vendor, the date, the dollar amount, and (often handwritten) the cost code or scope. Close the lightbox to return to the queue.
If there's no thumbnail — a "No ticket" placeholder — the PO came from a job that hasn't yet uploaded a receipt. See step 6.
Clicking the ticket thumbnail opens the lightbox. Only clicks on the rest of the row navigate to the job. If you click the thumbnail and "nothing happens," look for the lightbox — it's already open.
4. Decide whether you can confirm from what you see
Two questions:
- Does the vendor and dollar match what you authorized?
- Is the ticket legible enough that accounting will be able to code it?
If yes to both, proceed. If no, see step 6.
5. Click the row to open the job, then confirm in Purchase Ordering
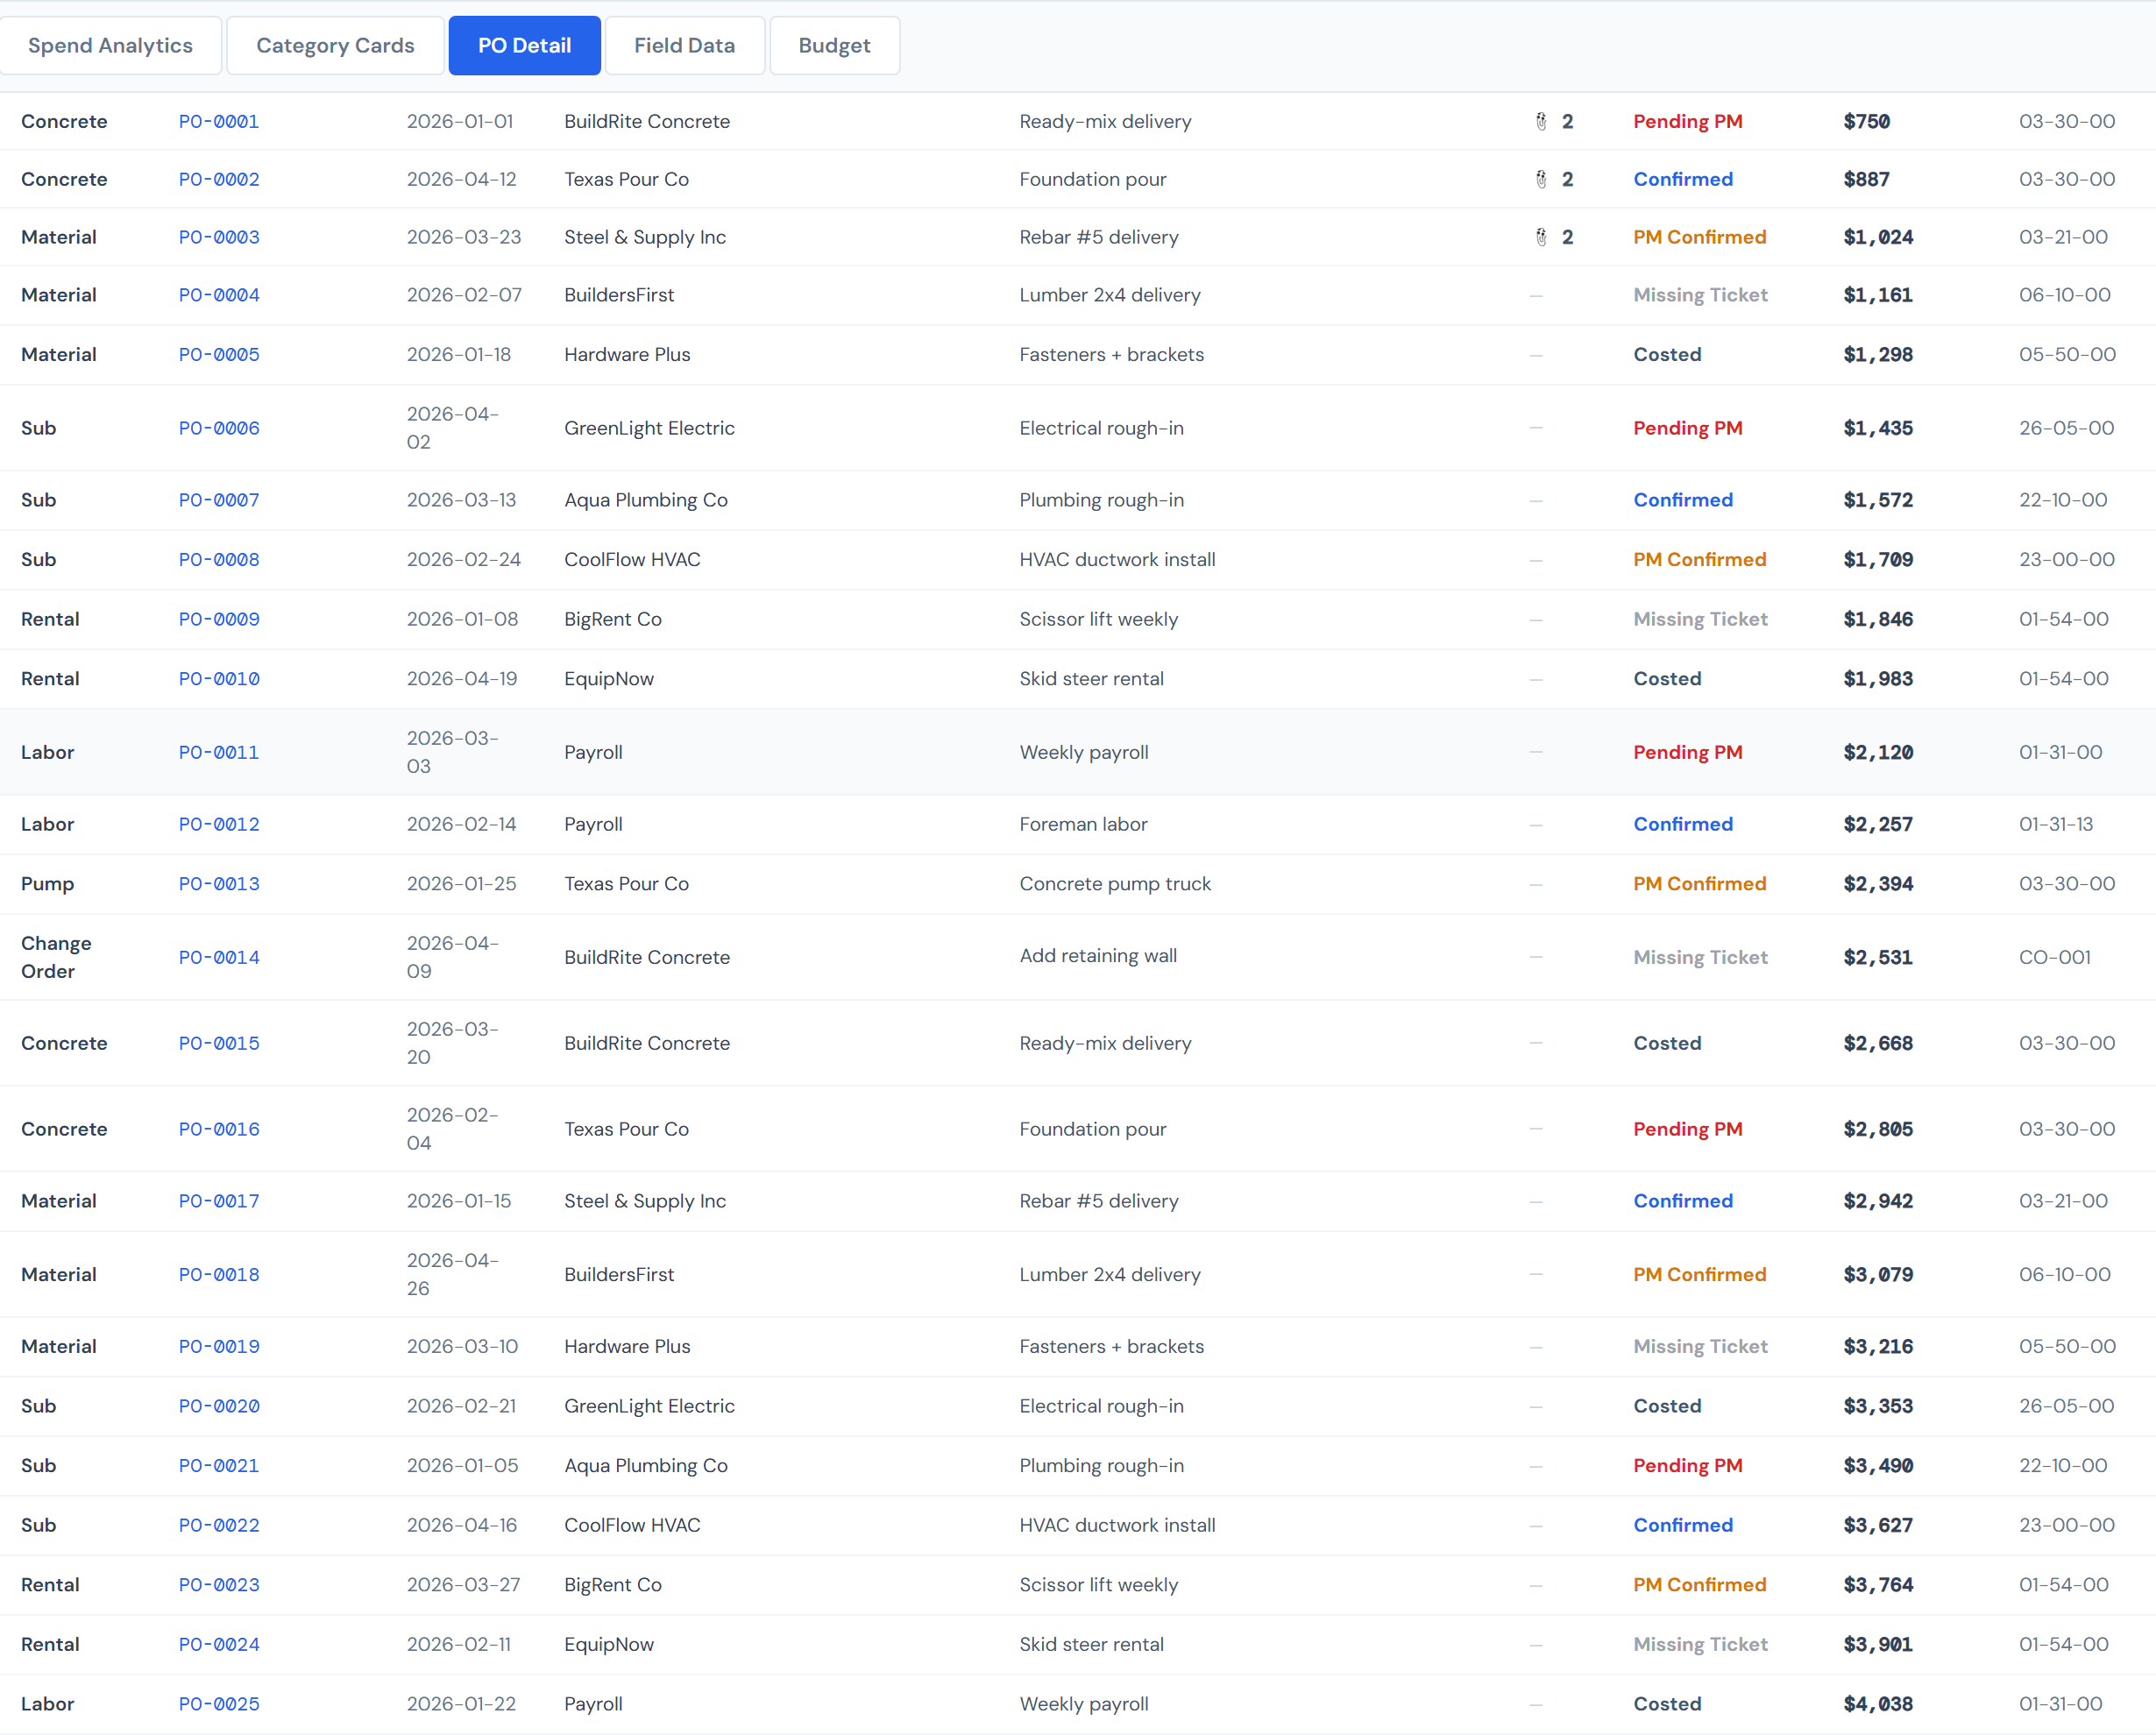
Clicking anywhere on the row except the thumbnail navigates to that job's detail page. From there, you can see the same PO in context on the PO Detail tab.
To actually flip the PO from Pending PM (red) to PM Confirmed (amber), switch over to Purchase Ordering and confirm it there. The state change happens in Purchase Ordering, not JCI.
6. If you can't confirm — note the blocker and move on
Common blockers and where the fix lives:
| Blocker | Fix path |
|---|---|
| No ticket image | The person who placed the order needs to attach the receipt in Purchase Ordering. |
| Wrong vendor on the PO | Edit happens in Purchase Ordering, not JCI. |
| Dollar amount looks off | Ask the requester or the vendor. Don't approve and forget. |
| You don't recognize this PO | Someone else may have placed it under your job. Coordinate before confirming. |
Note the blocker somewhere outside JCI — there's no "needs follow-up" status in the dashboard.
7. Wait for the queue to update
Numbers in the dashboard refresh every four hours. A PO you confirmed in Purchase Ordering thirty minutes ago is still going to show up in your red queue until the next refresh cycle. That's expected — don't refresh and re-confirm. See Data Refresh Rates.
A just-confirmed PO stays in your queue until the next refresh. Don't go back to Purchase Ordering and confirm it again — the first one took.
What the row looks like once it advances
| State now | What happens next | When |
|---|---|---|
| Pending PM (Red) — your turn | You confirm in Purchase Ordering → moves to PM Confirmed (Amber) | Within the next four-hour refresh |
| PM Confirmed (Amber) | Accounting codes it → moves to Accounting Costed (Green) | Whenever accounting closes the row, typically days later |
The amber and green statuses do not appear in your Action Queue — they're not waiting on you anymore. The full state machine is at PO Lifecycle Colors.
Working a batch — pacing tips
- Tackle the top of the list. The queue is sorted so the most-aged item is at the top.
- Read the ticket once and act on it once. If you bounce between JCI and Purchase Ordering rapid-fire, you'll lose the context of what each receipt was for.
- If you have to leave a PO unconfirmed for a real reason, note why somewhere outside JCI. There's no "needs follow-up" status in the dashboard.
Resist the urge to scan-and-flip-tabs. Read the ticket on the JCI side, decide, then jump to Purchase Ordering and confirm. Doing it the other direction loses context.
Why confirmation lives in Purchase Ordering, not JCI
JCI is the observability surface for job costing. It shows what's where, surfaces what's stuck, and links to receipts. Purchase Ordering is where POs are created, edited, and confirmed; it's the system of record for PO state.
Confirming inside JCI would create a second source of truth for the same field, which is the kind of split that breaks reconciliation. So the dashboard reads PO state, displays it with color, surfaces the rows that are waiting on you — and sends you to Purchase Ordering when it's time to act.
A few things to know
- Pending PM is the only status the queue surfaces. PM Confirmed (amber), Accounting Costed (green), Confirmed (blue, for labor) — none of those appear in the Action Queue. They're not waiting on you.
- "Missing Ticket" (gray PO status) is different from "Missing Cost Code" (Action Queue tab). A gray PO is missing a receipt image. A row in Missing Cost Codes is a labor entry without a cost code. Different problems, different fix paths. The Pending My Action queue only surfaces red items; gray Missing Ticket POs do not appear there.
- My Jobs is global, not per-page. Toggling My Jobs anywhere in the app applies portfolio-wide. The Action Queue scopes to your user ID at the data layer regardless of the toggle. See My Jobs Toggle.
- No affordance to view another PM's queue. A PM going on PTO cannot hand off their queue inside JCI. Coordinate coverage outside the dashboard.
What's next
- Working a fresh PO on a new job? Make sure the budget is set first — see Entering a Job Budget.
- Cost code missing from a labor entry instead? See Fixing a Missing Cost Code.
- This PO is one of many on a hot job? See Spotting Overruns.
- This is part of your morning routine? See Daily PM Routine for the wider view, or Daily Workflow for the in-queue Mermaid.